Unlock the Magic: Bake Big Soft Fluffy One-Hour Dinner Rolls from Scratch
Imagine the irresistible aroma of freshly baked bread wafting through your home, promising warmth and comfort. Now, imagine that exquisite experience happening in just 60 minutes, from start to finish. Yes, it's entirely possible to create truly **big soft fluffy one hour dinner rolls** that rival any bakery, bringing unparalleled joy to your dinner table without the endless waiting. This isn't just a recipe; it's a revelation for busy home cooks, transforming the notion that homemade bread is a time-consuming luxury into an achievable weeknight staple. Get ready to impress yourself and your loved ones with these incredibly tender, melt-in-your-mouth rolls, perfect for any occasion.The Unbelievable Appeal of 1-Hour Dinner Rolls
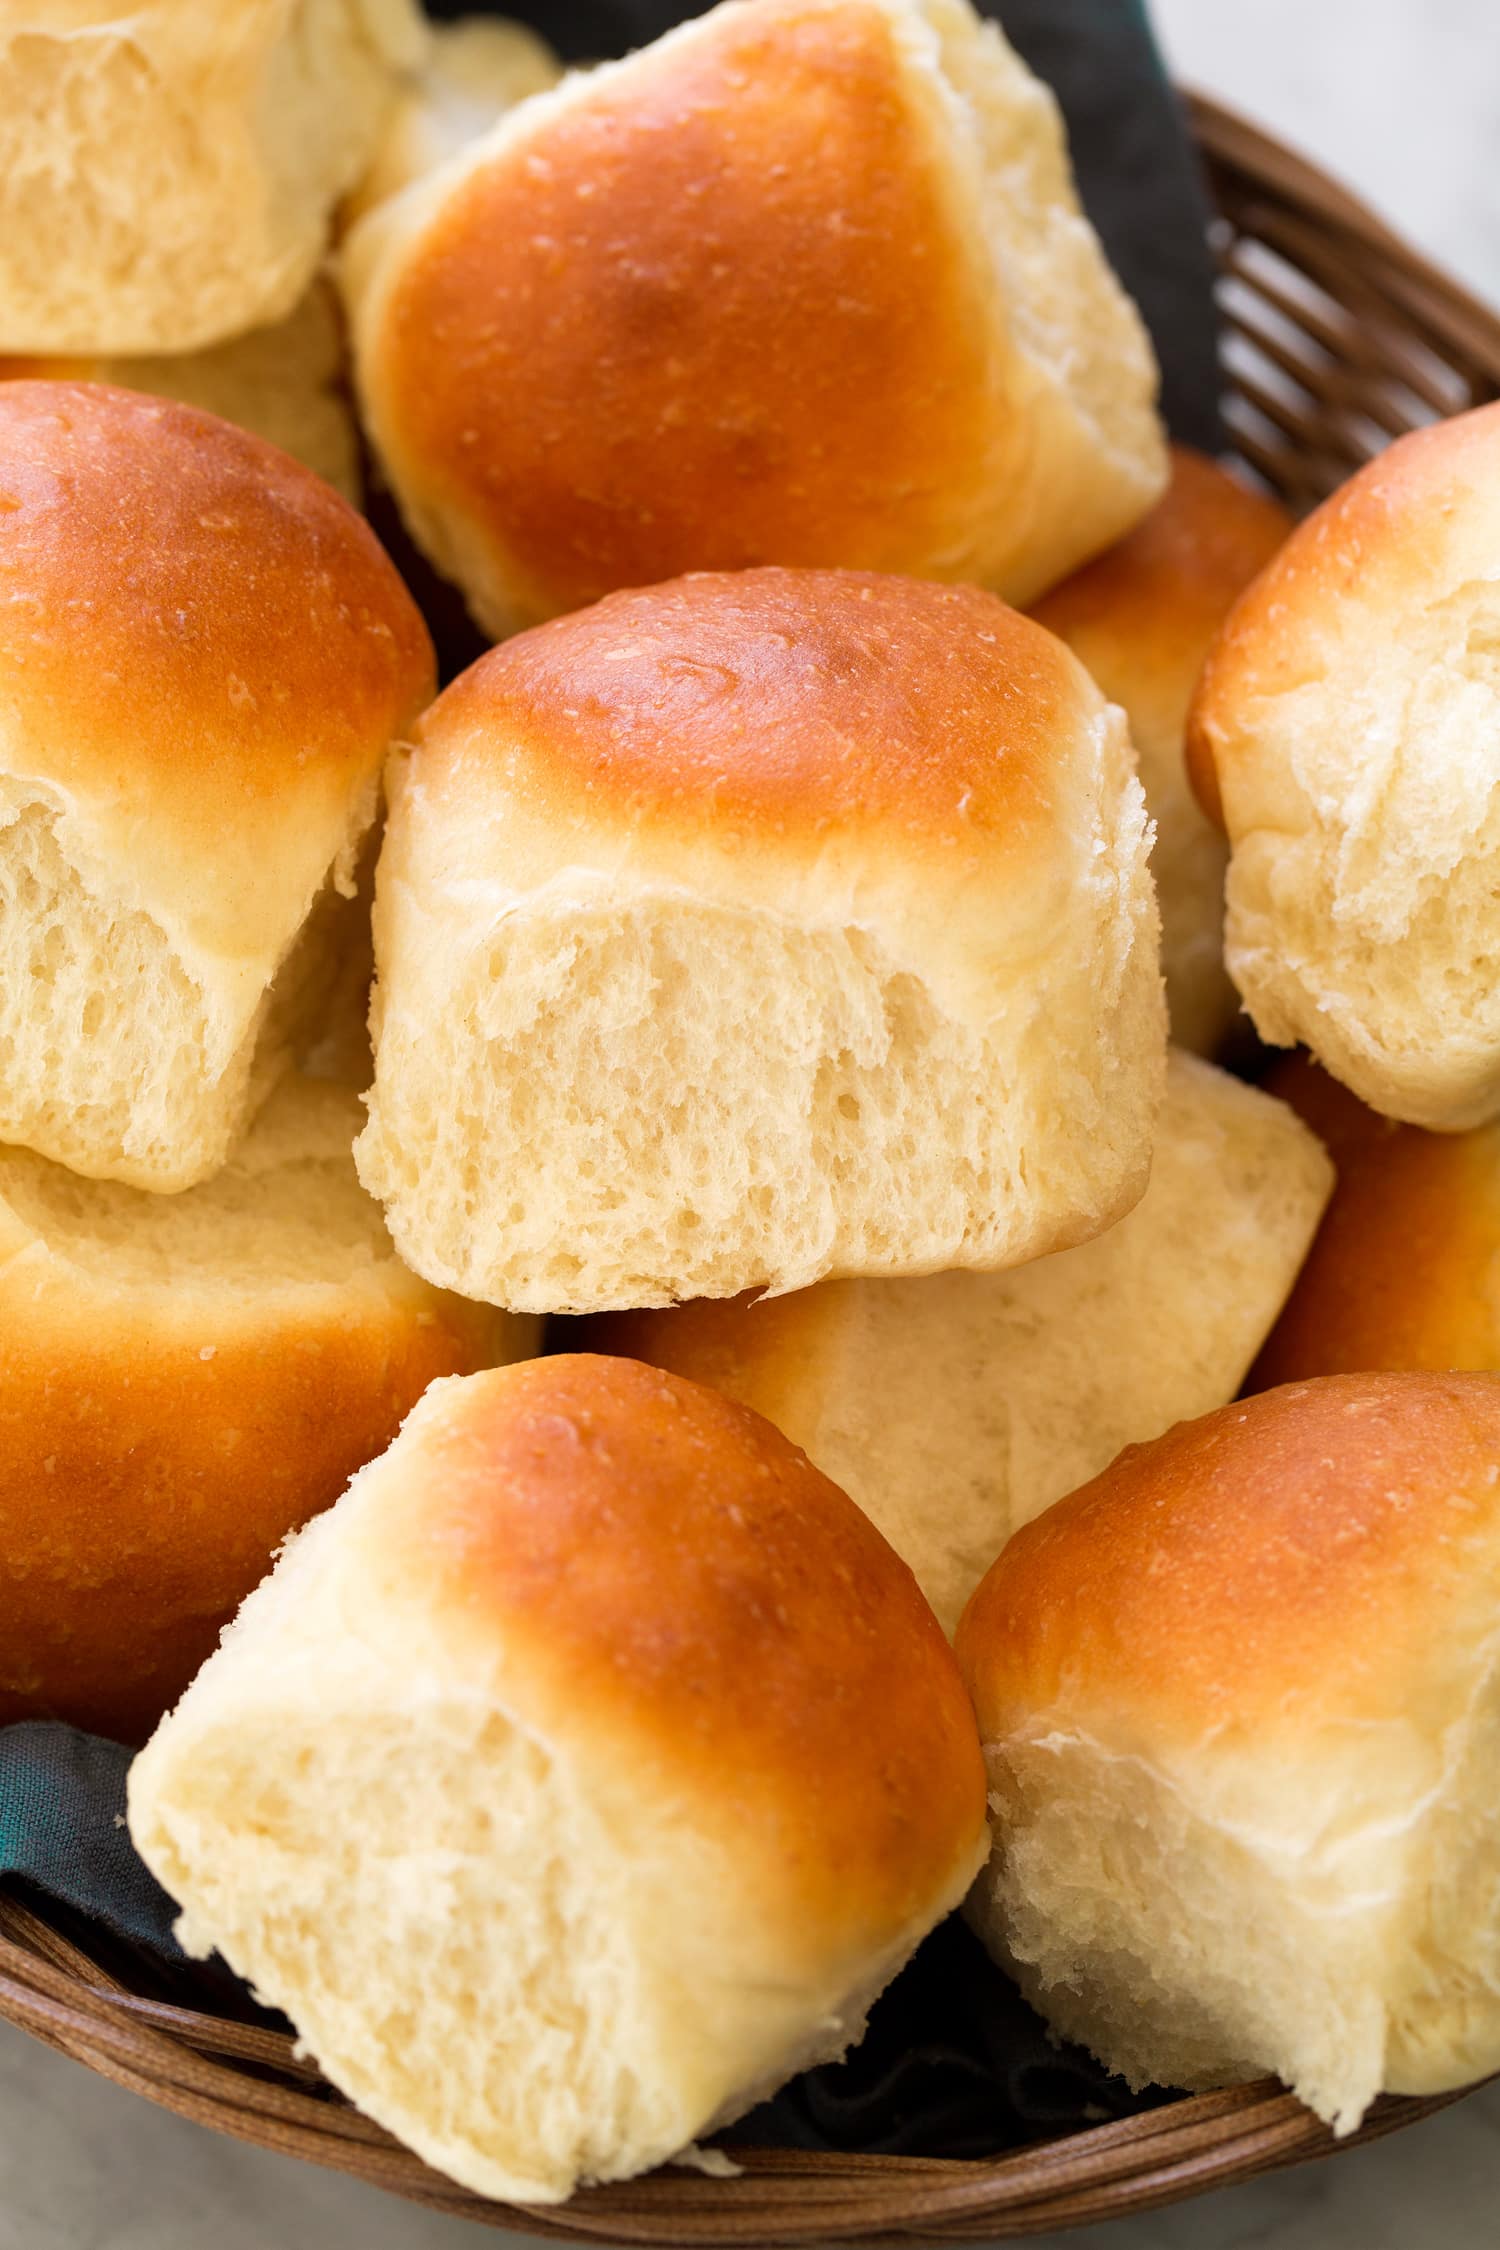
For too long, the idea of homemade dinner rolls has been associated with hours of proofing, kneading, and waiting. But with the advent of rapid-rise yeast and clever techniques, that lengthy process has been condensed into a mere hour. This makes quick yeast rolls a game-changer for holidays, impromptu gatherings, or simply elevating a simple weeknight meal. What makes these **big soft fluffy one hour dinner rolls** so special?- Unmatched Freshness: Nothing compares to bread pulled warm from your own oven.
- Incredible Texture: Expect a delicate, pillowy crumb with just the right amount of chew, a testament to proper dough handling.
- Rich Flavor: A hint of sweetness, a kiss of butter, and the subtle tang of fresh yeast combine for a truly irresistible taste.
- Instant Gratification: From measuring ingredients to buttering the finished product, the entire process fits snugly into an hour, making homemade bread a spontaneous delight.
Crafting Your Perfect Big Soft Fluffy One-Hour Dinner Rolls: Key Ingredients & Their Magic
The secret to these unbelievably fast and delicious rolls lies in a handful of basic ingredients, each playing a crucial role in achieving that coveted soft, fluffy texture and quick rise. Understanding their function will empower you to create perfect rolls every time.Here’s what you’ll need and why:
- All-Purpose Flour (preferably Unbleached): This forms the structure of your rolls. Unbleached flour generally has a slightly higher protein content and hasn't undergone harsh chemical processing, which some bakers believe contributes to a better flavor and texture. It provides the necessary gluten development without making the rolls tough.
- Granulated Sugar: Beyond adding a subtle, non-overpowering sweetness, sugar serves as food for the yeast, helping it activate and produce gases more rapidly. It also aids in browning the crust beautifully.
- Rapid Rise Yeast (Instant Yeast): This is the absolute hero of our one-hour timeline. Unlike active dry yeast, rapid rise yeast doesn't require proofing in warm water first and can be mixed directly with the dry ingredients. Its smaller granules and specially formulated strains allow it to work much faster, significantly reducing proofing time.
- Standard Table Salt: Crucial for flavor! Forgetting salt results in incredibly bland, flat-tasting bread. It also helps control yeast activity, preventing the dough from rising too quickly and collapsing.
- Warm Water, Milk (avoiding skim), and Butter: These liquids are vital for activating the yeast and hydrating the flour.
- Water: Provides essential moisture for the dough.
- Milk: Contributes to a richer flavor, a softer crumb, and helps the rolls stay tender longer due to its fat and sugar content. Avoid skim milk, as the lack of fat will diminish the desired richness and softness.
- Butter: Adds incredible flavor, moisture, and tenderness. If using salted butter, slightly reduce the amount of added table salt in the recipe to maintain balance.
- Temperature is Key: The combined liquids should be warmed to an ideal temperature between 105-115°F (40-46°C). Too cold, and the yeast won't activate; too hot, and it will kill the live yeast, preventing any rise at all. A kitchen thermometer is your best friend here.
- Lemon Juice or Plain Vinegar: A lesser-known but powerful secret ingredient! The acidity from a small amount of lemon juice or white vinegar helps to encourage rapid rising by providing a slightly acidic environment that yeast thrives in. This significantly aids in achieving that quick preparation time without compromising on texture.
Mastering the Art: Expert Tips for Flawless One-Hour Rolls
While the recipe for these **big soft fluffy one hour dinner rolls** is straightforward, a few expert tips can elevate your baking from good to absolutely phenomenal.- Nail the Liquid Temperature: As mentioned, this is paramount. Invest in a good kitchen thermometer and aim for that sweet spot of 105-115°F (40-46°C) for your combined liquids. This ensures the rapid rise yeast is activated effectively without being destroyed.
- Don't Over-Knead the Dough: Unlike some rustic bread, dinner rolls benefit from a relatively short kneading time. You're looking for a smooth, elastic dough, but over-kneading can develop too much gluten, resulting in tough, dry rolls. Usually, 5-7 minutes in a stand mixer with a dough hook (or 8-10 minutes by hand) is sufficient for these quick rolls. The dough should be slightly sticky but manageable.
- The Quick Rise Technique: To achieve a rapid rise, create a warm, draft-free environment.
- Oven Method: Turn your oven on to its lowest setting (usually around 170-200°F or 75-95°C) for just 1-2 minutes, then turn it *off*. Place your covered dough (in an oven-safe bowl) inside the warm, turned-off oven. This gentle heat provides the perfect proofing environment. Be absolutely sure the oven is off to avoid cooking the dough.
- Other Warm Spots: A sunny spot, a proofing drawer, or even near a slightly open dishwasher door can work.
- Achieve Golden Brown Perfection: Every oven bakes differently. If your rolls tend to come out pale, consider moving your oven rack up a level before preheating. This closer proximity to the top heating element can encourage a beautiful golden-brown crust without overbaking the interior.
- Butter for Beauty and Flavor: As soon as the rolls emerge from the oven, brush their tops generously with melted butter. This not only imparts a rich, glossy finish but also adds another layer of buttery flavor and keeps the crust wonderfully soft. For more specialized insights and techniques that can further enhance the buttery goodness and overall perfection of your quick rolls, delve into Secrets to Perfect 1-Hour Dinner Rolls: Soft & Buttery.
Beyond the Bread Basket: Versatile Uses & Storage
Creative Culinary Applications:
- Soup & Stew Companion: The classic pairing! They are perfect for soaking up the last delicious drops of homemade Vegetable Soup, Minestrone, or a hearty Beef Stew.
- Slider Base Extraordinaire: Their small size and soft texture make them ideal for sliders. Think pulled pork, holiday ham and turkey, BBQ chicken, or even mini-burgers.
- Breakfast Brilliance: Don't let leftovers go to waste! Transform them into a spectacular breakfast casserole like French toast bake or a savory strata. They can also be sliced, toasted, and used for mini-egg sandwiches.
- Garlic Knots Upgrade: Brush with garlic butter and a sprinkle of Parmesan for a quick and impressive side to Italian dishes.
- Sweet Treat: Slice and spread with cinnamon sugar butter before a quick bake for an impromptu dessert.
For even more creative ideas on how to incorporate these delightful rolls into various meals and occasions, explore Easy 1-Hour Dinner Rolls: Versatile Sides & Sliders.
Optimal Storage Solutions:
To keep your homemade rolls fresh and delicious for as long as possible:
- Cool Completely: This is critical. Storing warm rolls will trap moisture, making them soggy and prone to spoilage. Allow them to cool fully on a wire rack.
- Room Temperature: Once cooled, place them in an airtight container or zip-top bag. They will stay wonderfully soft and fresh for 1 to 2 days at room temperature.
- Refrigeration: For longer storage, refrigerate for up to 5 days. Reheat gently in the microwave or oven for best results.
- Freezing: These rolls freeze beautifully! Once completely cooled, place them in a freezer-safe bag or container, removing as much air as possible. They can be frozen for up to 3 months. Thaw at room temperature or reheat from frozen in a warm oven until heated through.
